

Halloween approaches, and for many, that means it is time to think about decorating our homes. There is a certain kind of joy that comes from picking out the perfect pumpkin, and then bringing it to life with a design. This year, why not try something that truly sparkles? A Tinkerbell pumpkin carving can bring a touch of Disney magic right to your doorstep, and it is a wonderful way to celebrate the season with a bit of fairy dust.
This particular project is, in a way, more than just carving. It is about capturing the spirit of a beloved character, the tiny fairy with a big personality. Imagine the glow of a light inside, showing off Tinkerbell's silhouette, perhaps with her wings spread wide. It really adds a special feeling to any autumn display, making your home feel a bit more enchanted.
So, if you are looking to create something truly memorable, something that will delight everyone who sees it, then a Tinkerbell pumpkin carving is a perfect choice. We will walk through everything you need to know, from picking your pumpkin to making sure your finished piece lasts as long as possible. You will find that this project is quite fun, and the results are honestly worth the effort.
Table of Contents
- Why Tinkerbell for Your Pumpkin?
- Getting Ready: Your Carving Toolkit
- Choosing the Perfect Pumpkin
- Design Ideas for Your Tinkerbell Pumpkin
- The Step-by-Step Carving Process
- Safety Tips for Pumpkin Carving
- Lighting Up Your Tinkerbell Creation
- Keeping Your Carving Fresh
- Fun Facts About Tinkerbell
- Frequently Asked Questions About Tinkerbell Pumpkin Carving
- Make Your Tinkerbell Pumpkin Shine
Why Tinkerbell for Your Pumpkin?
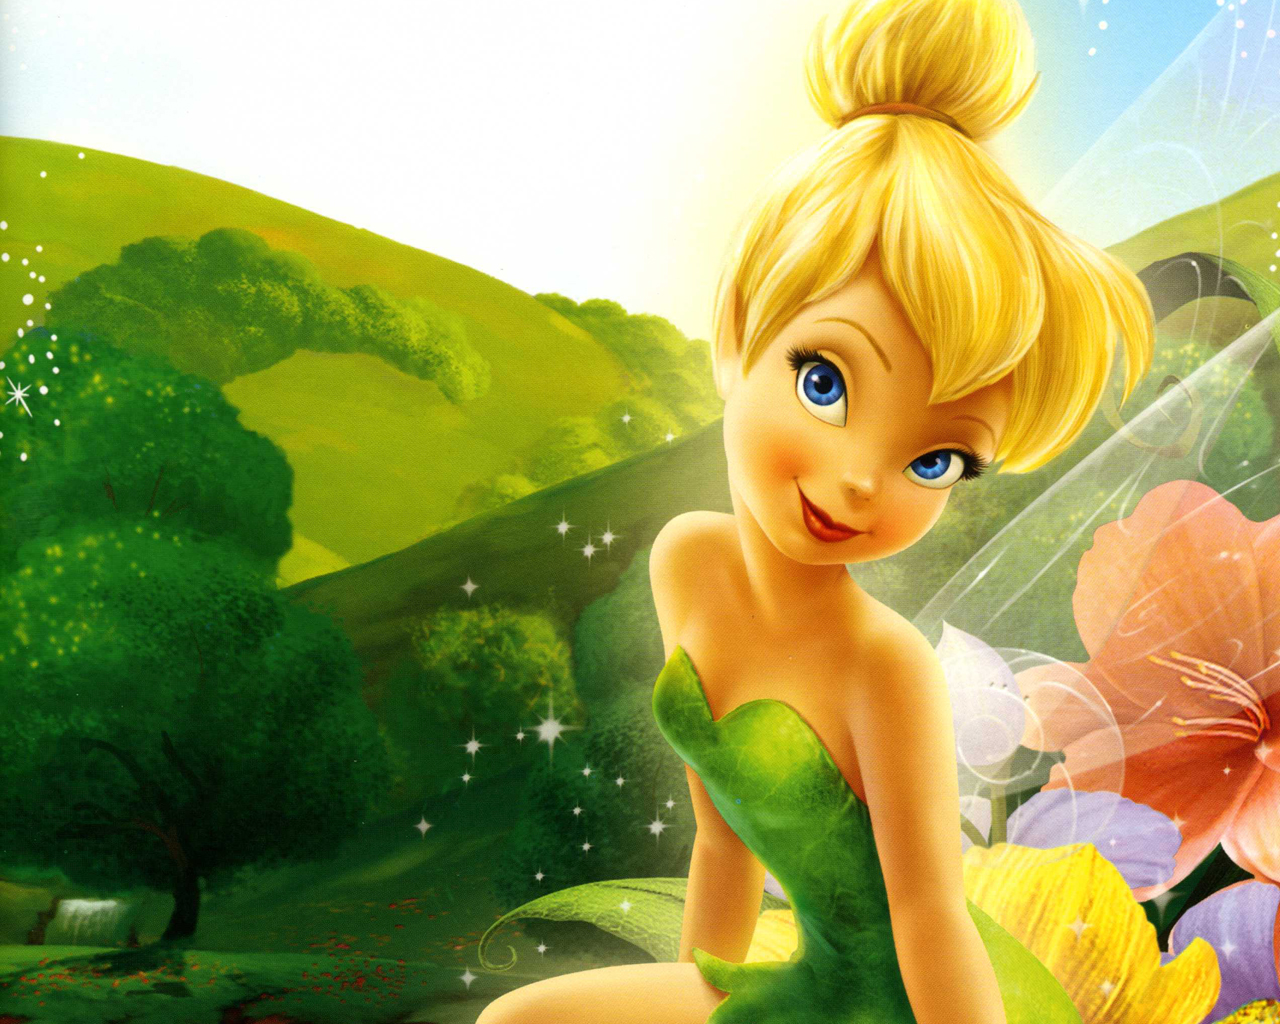
Tinkerbell, the little fairy from Neverland, holds a special place in many hearts. Her image is often linked with magic, wishes, and a touch of mischief. For a pumpkin design, this means a chance to create something truly enchanting, something that feels both classic and fun. You know, she just has that certain charm.
Her silhouette, especially with those iconic wings, lends itself very well to carving. The lines are clear, and her shape is recognizable, which makes it a good choice for people of various skill levels. It is a design that, honestly, brings a smile to people's faces, young and old alike. It is a rather popular choice for themed decorations, too.
Getting Ready: Your Carving Toolkit
Before you begin your tinkerbell pumpkin carving project, gathering the right tools is a smart move. Having everything ready means you will not have to stop in the middle of your creative flow. A good set of tools really makes a difference, you know, for getting those clean lines.
Here is a basic list of what you will probably need:
- A sturdy pumpkin carving kit: This usually has small saws, a scoop, and a poking tool.
- A large spoon or ice cream scoop: This helps with cleaning out the pumpkin's insides.
- A dry erase marker or a pencil: For drawing your design onto the pumpkin.
- A sharp knife (for adults only): For cutting the top or bottom opening.
- Newspaper or old towels: To keep your work area clean.
- A bowl: For collecting the pumpkin guts and seeds.
- A light source: Like a battery-operated LED candle or a small flashlight.
Having these items on hand will make the whole process much smoother. It is actually quite important to have the right tools for the job, especially when working with something like a pumpkin.
Choosing the Perfect Pumpkin
The pumpkin itself is the canvas for your tinkerbell pumpkin carving, so picking a good one is pretty important. You want a pumpkin that is just right for your design. Not all pumpkins are created equal, you see.
Look for a pumpkin with a smooth, even surface. Bumps and ridges can make carving a detailed design, like Tinkerbell, a bit harder. A flat side is also helpful if you plan to place your carving against a wall or window. Also, make sure it feels firm and heavy for its size, which usually means it is fresh and will last longer. A soft spot is a sign it is already starting to go bad, so, you know, avoid those.
Consider the size, too. A larger pumpkin gives you more room to work with, especially for intricate details like Tinkerbell's wings or her little face. A medium-sized pumpkin is often a good balance between ease of handling and enough space for a design. You want something that feels right for you to handle, basically.
Design Ideas for Your Tinkerbell Pumpkin
Once you have your pumpkin, the next step for your tinkerbell pumpkin carving is deciding on the specific design. Tinkerbell has many poses and looks, so you have options. This is where your creativity really gets to shine, too.
Finding or Creating Stencils
For many, using a stencil is the easiest way to get a good Tinkerbell image onto the pumpkin. You can find many free Tinkerbell stencils online with a quick search. Print one out that you like, making sure it fits your pumpkin's size. Some stencils will show Tinkerbell in flight, while others might focus on her face or a close-up of her with her wand. You know, there are quite a few choices out there.
If you are feeling a bit more adventurous, you could even create your own stencil. Trace a picture of Tinkerbell from a book or a screen onto paper, then cut out the areas you want to carve. This way, you get a truly unique design, which is, honestly, a pretty cool thing to do. Just make sure the lines are clear and simple enough to cut.
Freehand Designs
If you have a steady hand and some drawing skills, you might try drawing Tinkerbell directly onto your pumpkin. Use a dry erase marker or a pencil, as these can be erased if you make a mistake. This allows for more personal touches and a truly one-of-a-kind piece. It is, in a way, a bit more challenging, but also very rewarding.
Think about her signature pose: flying with a trail of pixie dust, or perhaps sitting on a mushroom. You could even add some stars or other fairy elements around her. The key is to keep the design simple enough to carve, especially if this is your first time trying a detailed character. You do not want to make it too hard on yourself, basically.
The Step-by-Step Carving Process
Now comes the fun part: actually making your tinkerbell pumpkin carving. Take your time with each step; there is no need to rush. Patience, you know, really helps here.
Preparing the Pumpkin
First, you need to open your pumpkin. Most people cut a circle around the stem at the top. However, cutting a circle from the bottom can make it easier to place the pumpkin over a light source later. Use a sturdy, sharp knife for this, or the large saw from your carving kit. Make sure the cut is angled inwards so the lid does not fall into the pumpkin. This is a pretty important first step, you know.
Once open, use your scoop or large spoon to clean out all the seeds and stringy bits from the inside. Scrape the walls of the pumpkin until they are smooth and about an inch thick. This makes it much easier to carve and helps your design show up better when lit. It is, like, really messy, but necessary work.
Transferring Your Design
If you are using a stencil, tape it firmly onto the smoothest part of your pumpkin. Use the poking tool from your kit to poke small holes along all the lines of your design. Make the holes close together, perhaps a quarter of an inch apart, so you can see the outline clearly when you remove the stencil. This is, you know, how you get the design onto the pumpkin accurately.
Once all the holes are poked, carefully remove the stencil. You should see a dotted outline of Tinkerbell on your pumpkin. You can connect these dots with a dry erase marker or pencil if it helps you see the full picture before you start cutting. It is a bit like a connect-the-dots game, in a way.
The Actual Carving
Now, with your small carving saw, begin cutting along the lines you have marked. Start with the smaller, inner details first. This helps keep the pumpkin's structure strong while you work on the more delicate parts. Push the saw in and out gently, following your outline. Do not try to force it, as that can cause the pumpkin to crack. It is, you know, a bit of a delicate process.
Take breaks if your hand gets tired. You might find it easier to work in sections rather than trying to carve the whole design at once. If a piece breaks off that should not, you can often reattach it with a toothpick. Just be careful, you know, to avoid that if you can.
Cleaning Up the Details
After you have cut out all the pieces, use a small knife or the edge of a spoon to gently scrape away any loose bits of pumpkin flesh around your carved areas. This makes the edges look cleaner and helps the light shine through more evenly. You want those lines to look really sharp, basically.
You can also use a fine-tipped tool, if your kit has one, to add very small details, like lines on Tinkerbell's wings or her hair. This step, you know, truly brings the design to life. It is about making those finishing touches count.
Safety Tips for Pumpkin Carving
Working with sharp tools and pumpkins means safety is pretty important. Always supervise children if they are helping with the tinkerbell pumpkin carving. It is honestly better for adults to handle all the cutting, especially with larger knives.
Always cut away from yourself, never towards your body. Make sure your hands are dry to get a good grip on the tools. If a tool gets stuck, do not force it; gently wiggle it out. A good, stable work surface is also key, you know, to prevent accidents. You want to be comfortable and safe while you work.
Lighting Up Your Tinkerbell Creation
Once your tinkerbell pumpkin carving is finished, it is time to make it glow. Traditional candles are a classic choice, but they can be a fire hazard and also shorten your pumpkin's life. For a safer option, consider battery-operated LED candles or small LED string lights. They give off a warm glow and last much longer. They are, you know, really convenient.
Place your chosen light source inside the pumpkin. If you cut the opening at the bottom, simply place the light on a flat surface and lower the pumpkin over it. This gives a cleaner look, as the top of the pumpkin remains untouched. Adjust the light until it illuminates your Tinkerbell design just right. It is, in a way, the final touch that makes it magical.
Keeping Your Carving Fresh
You have put in all that work on your tinkerbell pumpkin carving, so you want it to last as long as possible. Pumpkins, being natural things, will eventually start to break down. There are, however, a few things you can do to help slow this process. This is, you know, a pretty common question people have.
After carving, you can spray your pumpkin with a mix of water and a little bleach (about one teaspoon of bleach per quart of water). This helps to kill bacteria and mold that cause decay. You can also rub petroleum jelly or vegetable oil on all the cut edges to keep them from drying out too quickly. Reapply these treatments every day or so. Keeping it in a cool, shaded spot will also help. Direct sunlight or heat will make it spoil faster, you know, so keep that in mind.
Fun Facts About Tinkerbell
As you work on your tinkerbell pumpkin carving, you might wonder a bit more about this famous fairy. She is, honestly, a character with a lot of history. One common question people have is about her size. In the Disney franchise, just how tall is Tinkerbell? Well, she is usually depicted as being about five inches tall, which is, you know, quite tiny. This small size makes her adventures even more interesting.
Tinkerbell first appeared in J.M. Barrie's 1904 play, "Peter Pan; or, the Boy Who Wouldn't Grow Up." She was originally just a spot of light and the sound of bells. It was Disney's animated film that gave her the iconic look we know today. She has, basically, become a symbol of magic and belief. It is pretty cool to think about her long history while you are carving her image.
Frequently Asked Questions About Tinkerbell Pumpkin Carving
People often have questions when they are getting ready to try a new carving project. Here are a few common ones about tinkerbell pumpkin carving:
Is tinkerbell pumpkin carving hard for beginners?
It can be a bit challenging, but it is certainly doable for beginners, too. Choosing a simpler stencil design, one with fewer small details, makes it much easier. You know, start with something basic and build up your skills. There are plenty of beginner-friendly stencils out there.
What tools are best for detailed tinkerbell pumpkin carving?
For those tiny details, a good pumpkin carving kit with small, sharp saws and a fine-tipped scraping tool is very helpful. Craft knives, like an X-Acto knife, can also work for very precise cuts, but use them with extreme care. You want tools that give you good control, basically.
How can I make my tinkerbell pumpkin glow brighter?
To make your tinkerbell pumpkin carving shine more, use a brighter LED light source. You can also scrape the inside walls of the pumpkin thinner behind the carved areas. This allows more light to pass through. Sometimes, a second light source placed just behind the pumpkin can also help, you know, to create a brighter effect.
Make Your Tinkerbell Pumpkin Shine
Creating a tinkerbell pumpkin carving is a rewarding way to add a bit of magic to your Halloween celebrations. It is a project that combines creativity with a touch of seasonal fun. We hope these tips help you create a truly enchanting display this fall. You can learn more about pumpkin carving on our site, and link to this page for more Halloween decoration ideas. Get ready to sprinkle some fairy dust on your porch this year!

Detail Author:
- Name : Ila Schuster
- Username : murphy.giovanni
- Email : jacobson.dock@bailey.info
- Birthdate : 1990-08-31
- Address : 7660 Lehner Fork Beckerland, VA 91044-5743
- Phone : +1.480.790.8515
- Company : Bogisich-Moore
- Job : Timing Device Assemblers
- Bio : Consequuntur culpa omnis omnis occaecati amet. Quia animi laboriosam deserunt quia. Debitis totam et voluptatibus commodi nam ut quis minima.
Socials
twitter:
- url : https://twitter.com/laverne_feest
- username : laverne_feest
- bio : Dolores et repellendus et dolorem. Ut ab repellat sunt repellat. Ut error est alias vel.
- followers : 4842
- following : 2136
facebook:
- url : https://facebook.com/laverne770
- username : laverne770
- bio : Est qui ullam voluptas porro ducimus ab vel.
- followers : 527
- following : 279


 Bonus
Bonus