

There's something truly special about bringing an idea to life with your own hands, especially when it involves a majestic creature like the wolf. Creating a clay wolf sculpture is, in a way, a chance to connect with both nature and your inner artist. It’s a wonderful project for anyone who loves animals, and also, just really enjoys working with their hands.
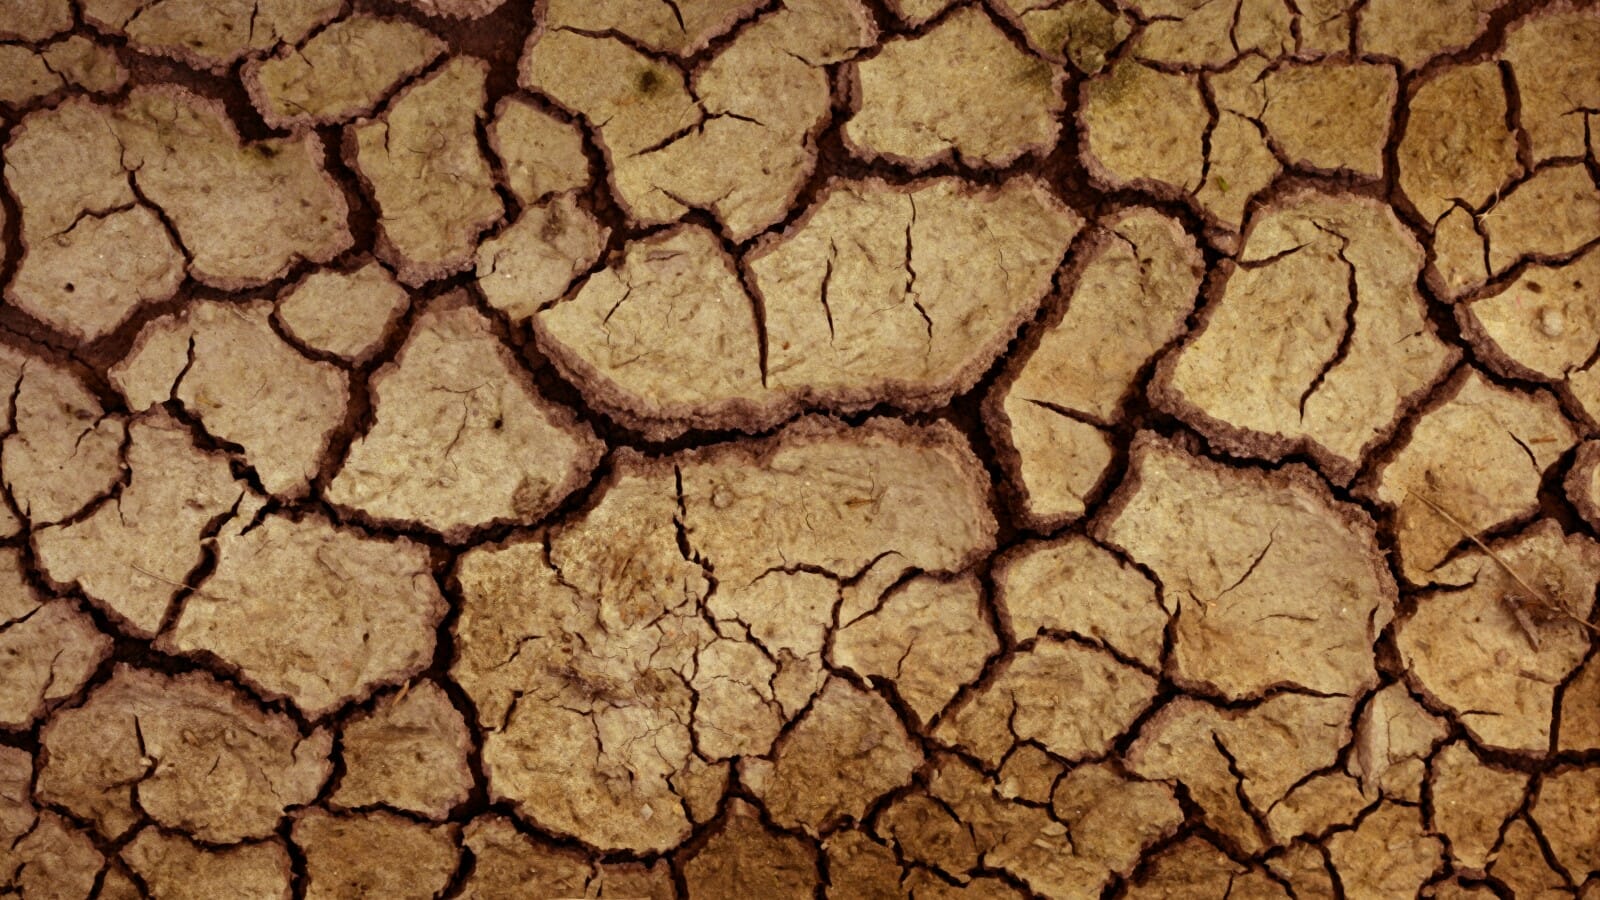
Clay, you see, is a material that offers immediate access to creative possibilities. It’s not just dirt; it is, actually, soil particles that have diameters less than 0.005 millimeter. This natural rock, composed essentially of these tiny clay particles, includes what we often call soils, and also, ceramic materials. It has, perhaps, a unique ability to transform, making it a favorite for many artists.
This guide will walk you through the fascinating world of crafting your very own clay wolf sculpture. We'll explore why clay is such a fantastic choice for this kind of art, what materials you'll need, and also, some practical steps to help you shape your vision. So, too it's almost, get ready to discover the joy of sculpting a powerful wolf.
Table of Contents
- What Makes Clay Perfect for Wolf Sculptures?
- Getting Started: Tools and Materials for Your Clay Wolf
- Sculpting Your Clay Wolf: A Step-by-Step Approach
- Tips for Working with Clay
- Caring for Your Clay Wolf Sculpture
- Frequently Asked Questions About Clay Wolf Sculpture
What Makes Clay Perfect for Wolf Sculptures?
When you consider creating a piece of art that really captures the spirit of an animal, clay often comes to mind. It's a truly versatile material that lets you shape and refine your ideas with a lot of freedom. For a clay wolf sculpture, this means you can bring out the animal's strength, its grace, and even its wildness in a way that feels very natural.
Clay's Unique Properties
Clay soil is, in a way, a type of soil that has a high content of clay particles. These particles are finer than silt particles but coarser than fine sand particles, which gives clay its particular feel and workability. Clay owes its unique properties to its mineral composition, primarily alumina and silica. For example, kaolinite, which is Al2Si2O5(OH)4, is a common pure clay mineral, and most pure clay minerals are, actually, white.
The ability of clay to hold a shape once formed, and then become quite rigid when fired, makes it an ideal choice for sculpture. It's one of the most significant aggregates used in various applications, and for artists, it offers a direct connection to the material. You can explore how clay’s different types and characteristics impact the way we use it, and that's a big part of the fun, you know.
Why Wolves?
The wolf has long been a symbol of strength, loyalty, and a connection to the wild. Its striking features—the powerful muzzle, the keen eyes, the flowing fur—make it a truly captivating subject for artists. A clay wolf sculpture, therefore, can be a way to honor these qualities and bring a piece of that wild spirit into your home or studio. It's a subject that, honestly, resonates with many people.
Whether you're aiming for a realistic portrayal or a more stylized, expressive piece, the wolf offers a wealth of inspiration. You can capture a howling wolf, a watchful one, or even a playful pup. This allows for a lot of creative freedom, and you can really put your own spin on it, too it's almost.
Getting Started: Tools and Materials for Your Clay Wolf
Before you begin shaping your clay wolf sculpture, it’s a good idea to gather everything you’ll need. Having the right materials and tools ready makes the creative process much smoother and more enjoyable. It's like preparing for a cooking project; you wouldn't want to be missing an ingredient halfway through, would you?
Choosing the Right Clay
The type of clay you pick is, in a way, very important. For sculpting, you'll generally look for clays that are plastic and hold their form well. We have clay by Laguna Clay Company and Standard Ceramics, which are popular choices among sculptors for their quality and workability. These brands offer different types of clay, including stoneware and porcelain, which can be fired at various temperatures.
If you're just starting out, or if you don't have access to a kiln, air-dry clay can be a good option. It hardens without firing, which is very convenient. However, for a more durable and lasting clay wolf sculpture, traditional kiln-fire clays are typically preferred. They offer a much stronger finish, and also, allow for glazing, which adds another layer of artistic expression. You might want to consider the final placement of your sculpture when making this choice, too.
Essential Tools
You don't need a massive collection of tools to get started, but a few basic items will make a big difference. Here are some you might find helpful:
- Wire Clay Cutter: Useful for cutting large blocks of clay.
- Wooden Modeling Tools: These come in various shapes and are great for shaping, smoothing, and adding detail.
- Loop Tools: Excellent for removing clay and refining forms.
- Needle Tool: Good for scoring, cutting, and making small holes.
- Sponge: For smoothing surfaces and adding moisture.
- Water Container: To keep your clay moist and clean your tools.
- Plastic Wrap or Damp Cloth: To cover your work and keep it from drying out too quickly.
- Sculpting Stand or Turntable: Very helpful for viewing your work from all angles.
Having these items on hand will make the process of creating your clay wolf sculpture much more manageable, and also, more fun. You'll find that, over time, you develop preferences for certain tools.
Sculpting Your Clay Wolf: A Step-by-Step Approach
Now comes the exciting part: actually shaping your clay wolf sculpture. This process involves several stages, from initial planning to adding the fine details. Take your time with each step, and remember that practice is, in a way, very key. You'll get better with every piece you create.
Planning and Armature
Before you even touch the clay, it's a good idea to have a plan. Look at reference photos of wolves from different angles. Pay attention to their anatomy, their proportions, and how their muscles move. You might even sketch out your wolf sculpture idea on paper first. This planning helps you visualize the final piece, and that's pretty important, you know.
For larger or more complex clay wolf sculptures, you might need an armature. An armature is an internal support structure, often made from wire or aluminum foil, that helps the clay hold its shape as you build it up. It prevents the clay from collapsing under its own weight, which is, honestly, a common problem for beginners. Make sure your armature is stable and matches the general pose you want for your wolf.
Building the Form
Start by building the basic, large forms of your wolf sculpture. Think in terms of simple shapes: an oval for the body, a sphere for the head, cylinders for the legs. Don't worry about details at this stage; just focus on getting the overall proportions and posture correct. You can add clay in layers, making sure to score and slip (add a watery clay mixture) between layers to ensure they bond well. This helps prevent cracks later on, and that's a good thing, you know.
Gradually refine these basic shapes, pushing and pulling the clay to define the wolf's torso, neck, and limbs. Pay attention to the flow of the body. Is your wolf running, sitting, or howling? The pose will dictate how you shape these initial forms. It's often helpful to step back and look at your clay wolf sculpture from a distance to check its overall balance and silhouette. You might find that, sometimes, a fresh perspective helps you spot areas needing adjustment.
Adding Details and Texture
Once the main form of your clay wolf sculpture is established, you can begin to add the finer details. This is where your wolf really starts to come alive. Use your smaller modeling tools to define the muzzle, the eyes, the ears, and the paws. Think about the wolf's expression; is it alert, calm, or fierce? The eyes, in particular, can convey a lot of emotion, so take your time with them.
Adding texture, like fur, is a crucial step. You can use a needle tool or a textured tool to create individual strands of fur, or use a sponge to give a softer, more blended fur effect. Remember that fur grows in different directions on different parts of the body, so observe your reference images closely. This attention to detail will make your clay wolf sculpture truly captivating. You can also, you know, add little touches like claws or whiskers at this point.
The Finishing Touches: Glazing and Firing
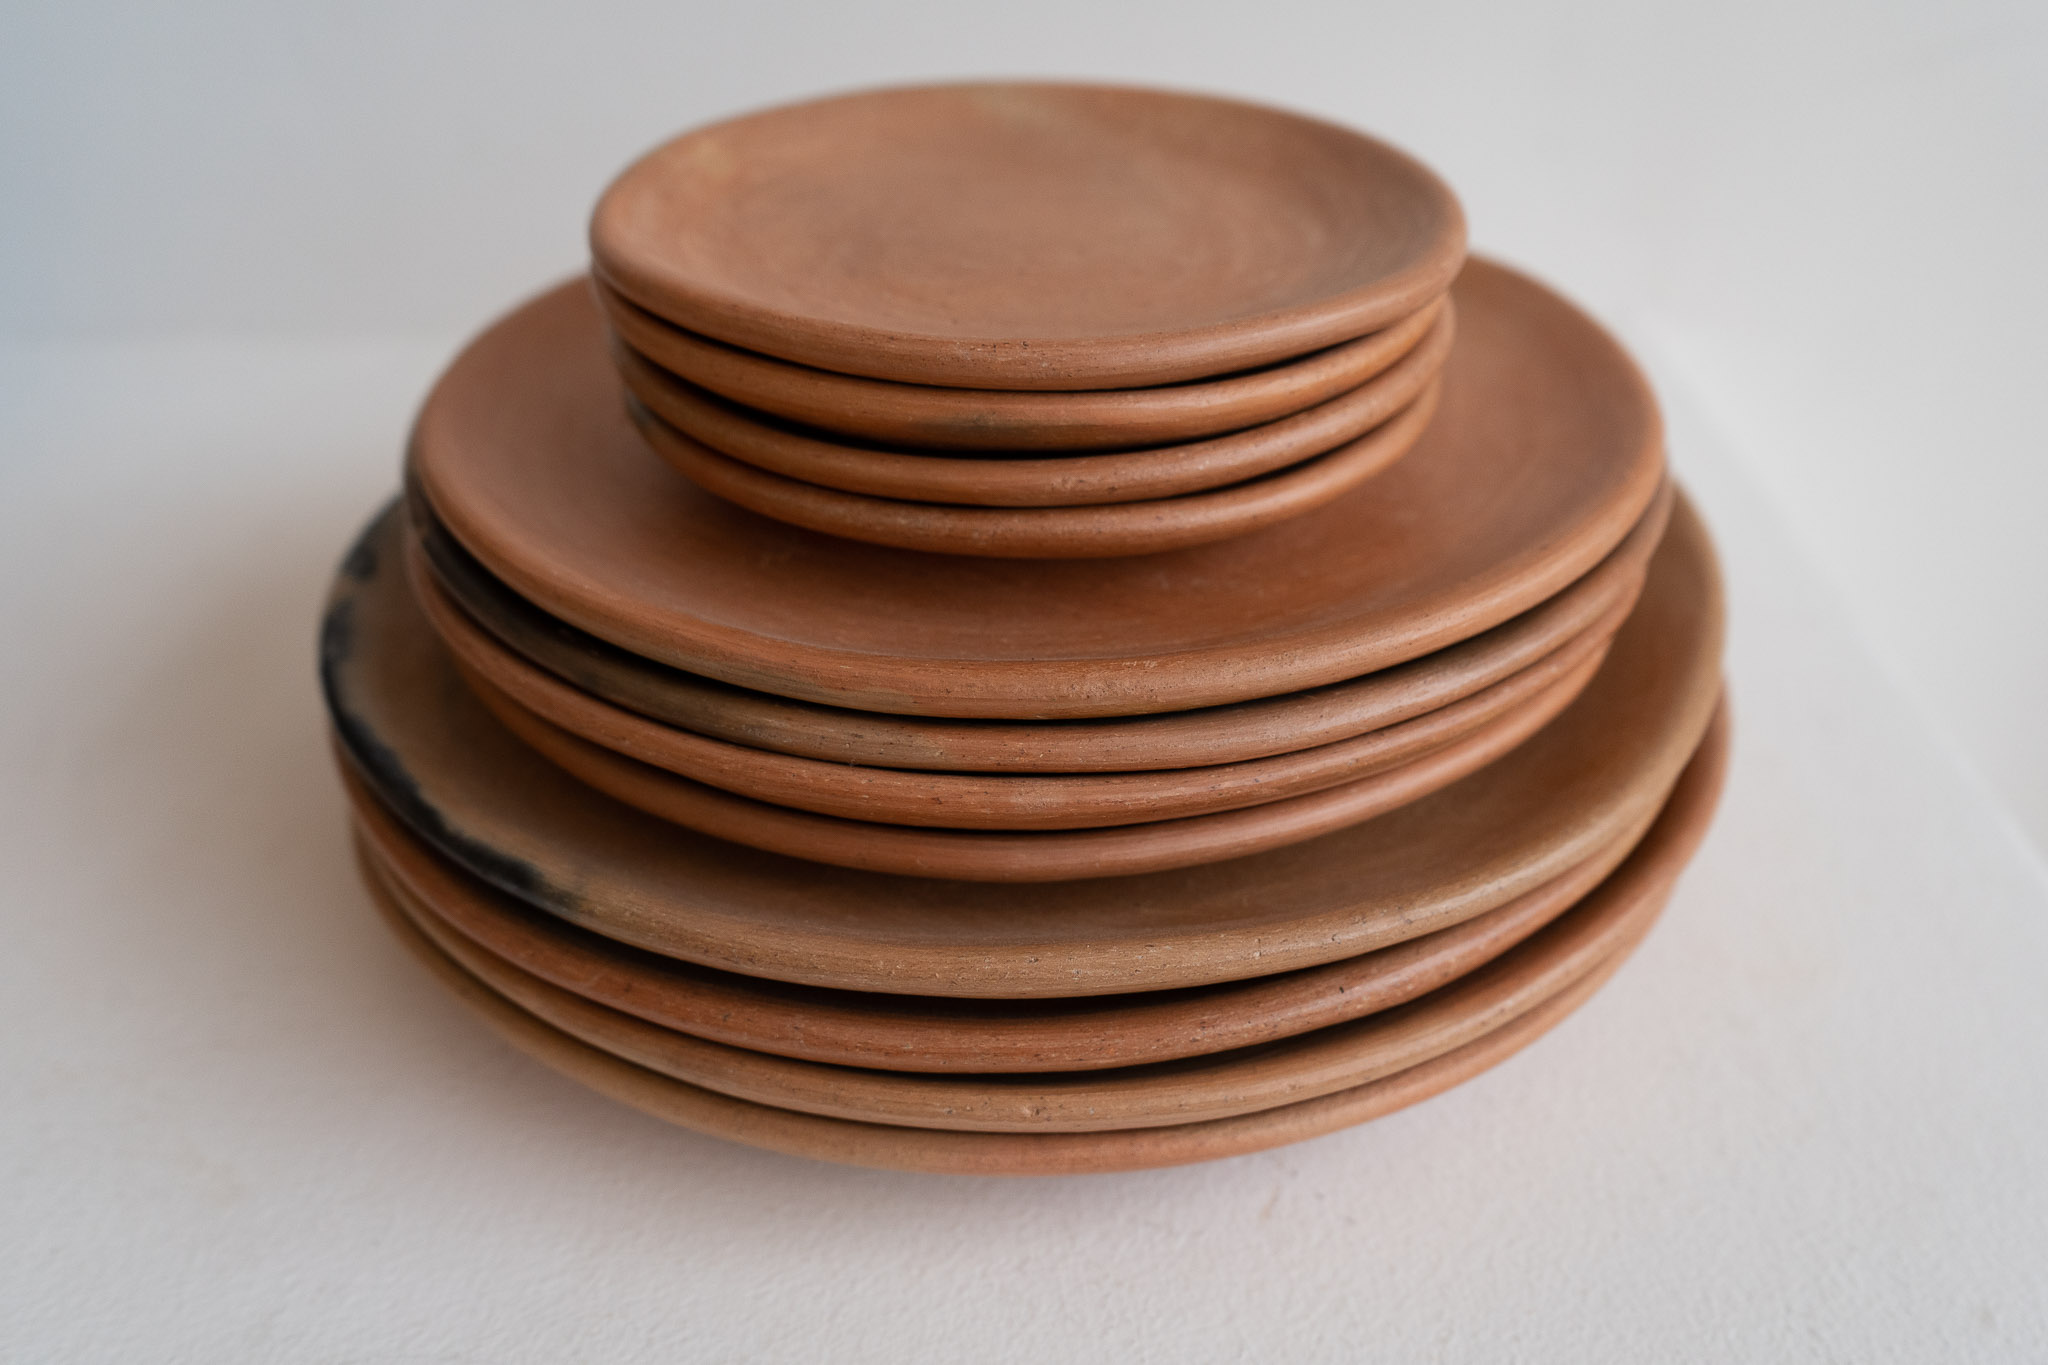
After your clay wolf sculpture is complete and has dried to a bone-dry state, it's ready for its first firing, known as the bisque firing. This process hardens the clay and prepares it for glazing. For commercial china, sometimes it has a low temperature lead glaze on a stoneware or porcelain bisque, which gives it a smooth, protective finish. Glazes, like Laguna Glazes and Speedball Underglazes and Glazes, come in a wide range of colors and finishes, allowing you to add color and shine to your wolf.
Applying glaze is an art in itself. You can brush it on, dip your sculpture, or even spray it. After glazing, your clay wolf sculpture will undergo a second firing, called the glaze firing, at a higher temperature. This melts the glaze, creating a durable, often glossy, surface. This step is what really brings out the vibrancy of the colors and seals the clay, making your wolf sculpture last for a very long time. We have open studio for those who need access to kilns, which is pretty convenient, you know.
Tips for Working with Clay
Working with clay can be a wonderfully rewarding experience, but there are a few things to keep in mind to make your process smoother. Clay, you see, is a type of soil characterized by its high content of clay particles, and it can be a bit particular. Here are some essential tips for working with this expansive soil, adapted for your clay wolf sculpture project:
- Keep it Moist: Clay dries out, and that's just a fact. Always keep your clay covered with plastic wrap or a damp cloth when you're not actively working on it. This prevents cracking and makes it much easier to manipulate.
- Wedge Your Clay: Before you start, "wedge" your clay. This means kneading it to remove air bubbles and achieve a consistent texture. Air bubbles can cause your sculpture to explode in the kiln, and that's something you definitely want to avoid.
- Build Evenly: Try to build your clay wolf sculpture with an even thickness throughout. If some parts are much thicker than others, they will dry and shrink at different rates, leading to cracks.
- Score and Slip: When joining two pieces of clay, always score both surfaces (scratch them with a needle tool) and apply slip (a watery clay mixture) before pressing them together firmly. This creates a strong bond, and it's a very important step.
- Slow Drying is Key: After you finish sculpting, let your clay wolf sculpture dry slowly and evenly. Covering it loosely with plastic for a few days, then gradually exposing it to air, helps prevent cracks.
- Don't Rush the Firing: If you're firing your piece, make sure it's completely bone dry before putting it in the kiln. Any moisture can turn to steam and cause the sculpture to break apart.
- Clean Your Tools: Always clean your tools immediately after use. Dried clay can be quite stubborn, and clean tools are, actually, a joy to work with.
Following these tips will help you avoid common pitfalls and ensure your clay wolf sculpture turns out just as you imagined, or perhaps, even better. It really makes a difference, you know.
Caring for Your Clay Wolf Sculpture
Once your clay wolf sculpture is complete and, if applicable, fired and glazed, it will be a lasting piece of art. To keep it looking its best, a little care goes a long way. If it's a fired piece, it's quite durable, but still, you know, treat it with some respect. Dust it regularly with a soft brush or cloth to keep it clean. For more stubborn dirt, a damp cloth can be used on glazed surfaces, but be careful with unglazed or unsealed areas, as they can absorb moisture.
Avoid placing your sculpture in direct sunlight for extended periods, especially if it has painted or unglazed elements, as this can cause fading over a very long time. If it's an outdoor piece, ensure the clay type and glazes are suitable for outdoor conditions, as not all clays are frost-proof. A well-cared-for clay wolf sculpture will bring you joy for many years to come, and that's, really, what it's all about.
You can learn more about different types of clay and their uses on our site, and also, explore various glazing techniques for your next project.
Frequently Asked Questions About Clay Wolf Sculpture
People often have questions when they start a new creative project, and sculpting a clay wolf is no different. Here are some common queries that come up, which might help you as you begin your own artistic journey.
What kind of clay is best for sculpting animals?
For sculpting animals, a versatile stoneware clay is often a good choice. It's strong after firing and can hold fine details. If you don't have a kiln, air-dry clay works well for practice pieces or sculptures that won't be exposed to moisture. Brands like Laguna Clay Company and Standard Ceramics offer many options that are great for detailed work, and that's pretty helpful.
How do you make a wolf out of clay?
Making a wolf out of clay typically starts with basic shapes for the body, head, and limbs. You then gradually refine these shapes, adding details like fur texture, eyes, and ears. Using reference photos is very helpful for getting the anatomy right. Remember to score and slip any joined pieces to ensure they bond well, which is, actually, a crucial step for durability.
Can you bake clay wolf sculptures?
Yes, many types of clay wolf sculptures are "baked" in a kiln, which is a special oven that reaches very high temperatures. This process, called firing, hardens the clay and makes it durable. If you're using air-dry clay, no baking is needed, as it hardens simply by drying in the air. For traditional ceramic clays, firing is essential for the material to become permanent, and that's a big part of the process, you know.

Detail Author:
- Name : Stephanie Weimann DVM
- Username : asha35
- Email : irwin.okeefe@gmail.com
- Birthdate : 1990-04-27
- Address : 8437 Stiedemann Crossroad West Ricardo, NM 50065
- Phone : +1-573-493-8518
- Company : Hegmann-Effertz
- Job : Computer Science Teacher
- Bio : Sapiente et animi aut necessitatibus ipsum nemo eaque. Officia consequatur ut nam error. Earum ea sed qui quis magnam quaerat beatae quam. Architecto cum aperiam consequatur necessitatibus.
Socials
instagram:
- url : https://instagram.com/lubowitzd
- username : lubowitzd
- bio : Magnam nostrum omnis dicta pariatur amet vitae ut. Facere nisi nesciunt iste eos.
- followers : 2501
- following : 2765
facebook:
- url : https://facebook.com/denis.lubowitz
- username : denis.lubowitz
- bio : Sunt qui eaque non. Assumenda dolor sint nostrum doloribus ut aspernatur.
- followers : 5462
- following : 386
tiktok:
- url : https://tiktok.com/@denis_lubowitz
- username : denis_lubowitz
- bio : Voluptatem iure dolorem ut voluptatum facilis nobis dolorum.
- followers : 3523
- following : 2077
twitter:
- url : https://twitter.com/dlubowitz
- username : dlubowitz
- bio : Modi hic possimus illo et expedita id. Explicabo repudiandae soluta quas blanditiis et. Quae in illum enim neque.
- followers : 6148
- following : 2307
linkedin:
- url : https://linkedin.com/in/dlubowitz
- username : dlubowitz
- bio : Quasi numquam facere quam.
- followers : 4071
- following : 569


 Bonus
Bonus