

Imagine a sunny afternoon, friends gathering, and a cool, creamy drink waiting for everyone. That, you know, is the dream for many a casual get-together. Making individual cocktails can take a lot of time and effort, pulling you away from the good company. This is where a fantastic pina colada pitcher recipe really shines, offering a simple way to bring that vacation feeling right to your backyard or patio.
A pitcher of pina coladas means less mixing and more enjoying. It’s perfect for parties, barbecues, or just a lazy weekend when you want a taste of the tropics without all the fuss. You can prepare a big batch ahead of time, which is very convenient. That way, when guests arrive, your drinks are ready to pour and serve, leaving you free to relax and chat, which is really what entertaining is all about, isn't it?
This guide helps you create a smooth, rich, and perfectly balanced pina colada for a crowd. We'll go through everything you need to know, from picking the right ingredients to making sure your drink stays cool and delicious. It’s a simple process, honestly, and the results are always a hit. So, get ready to mix up some sunshine in a glass!
Table of Contents
- Why a Pitcher Pina Colada?
- The Heart of the Drink: Ingredients
- Your Tools for Mixing
- Crafting Your Pitcher Pina Colada: Step-by-Step
- Tips for a Perfect Pitcher
- Variations on the Classic
- Serving Suggestions and Food Pairings
- Storing Your Leftovers
- Troubleshooting Common Pina Colada Problems
- Frequently Asked Questions (FAQs)
- Bringing the Tropics Home
Why a Pitcher Pina Colada?
Making a single pina colada is one thing, but making a whole bunch for friends can be a bit of a job. That's why a pitcher recipe is, in a way, a real lifesaver. It lets you get all the blending and mixing done at once, which is pretty handy. You just pour and serve when people are ready for a drink, you know?
This approach saves you time and effort when you have guests over. Instead of being stuck at the blender all evening, you can be part of the fun. It also helps keep things consistent, so everyone gets a drink that tastes just as good as the last one. There’s something quite satisfying about a big pitcher of a lovely drink, isn't there?
Plus, a pitcher of pina coladas looks very inviting on a table. It tells your guests that you've thought about their enjoyment and that there's plenty to go around. It really sets a relaxed, party mood, almost instantly, you know?
The Heart of the Drink: Ingredients
To make a truly good pina colada, the ingredients you pick really matter. It’s not just about mixing things; it’s about choosing items that will work well together. Each part plays a role in getting that classic taste and feel, so it's worth paying a little attention to what you're putting in, you know?
Rum: The Spirit of the Islands
For a classic pina colada, light rum is typically what you want. It lets the fruit and coconut flavors come through clearly. You don't need the most expensive bottle, but a decent quality white rum will make a big difference, honestly. Some people like to use a mix of light and dark rum for a bit more depth, which is an option, too.
A good quality rum, like a standard white Puerto Rican rum, is a solid choice. It gives the drink its kick without overpowering the other elements. If you prefer a slightly richer taste, a splash of aged gold rum can add a subtle caramel note. This is, in some respects, about personal preference, so feel free to experiment a bit.
Just make sure the rum you choose isn't too strong in flavor, or it might take over the delicate balance of the coconut and pineapple. You want a harmonious blend, not a rum punch, after all. So, pick something that complements, rather than competes with, the other tastes, you know?
Coconut Cream: For That Creamy Feel
This is where the "colada" part comes in, meaning "strained" or "creamy." You really need cream of coconut, not just coconut milk. Cream of coconut is a lot thicker and sweeter, and it's what gives the drink its rich, velvety texture. It's usually found in the international aisle of your grocery store, often near cocktail mixers. It’s a bit different from coconut milk or coconut water, so make sure you get the right one, you know?
Brands like Coco Lopez are pretty standard and work very well. If your cream of coconut has separated in the can, which it sometimes does, just warm the can in some hot water for a few minutes and then give it a good shake. This will help it mix back together smoothly, which is, you know, important for the texture.
Using the right amount of coconut cream is key to getting that perfect consistency. Too little, and your drink might be too watery. Too much, and it could be overly thick and sweet. It’s a balance, really, and the cream of coconut is a main player in that balance, apparently.
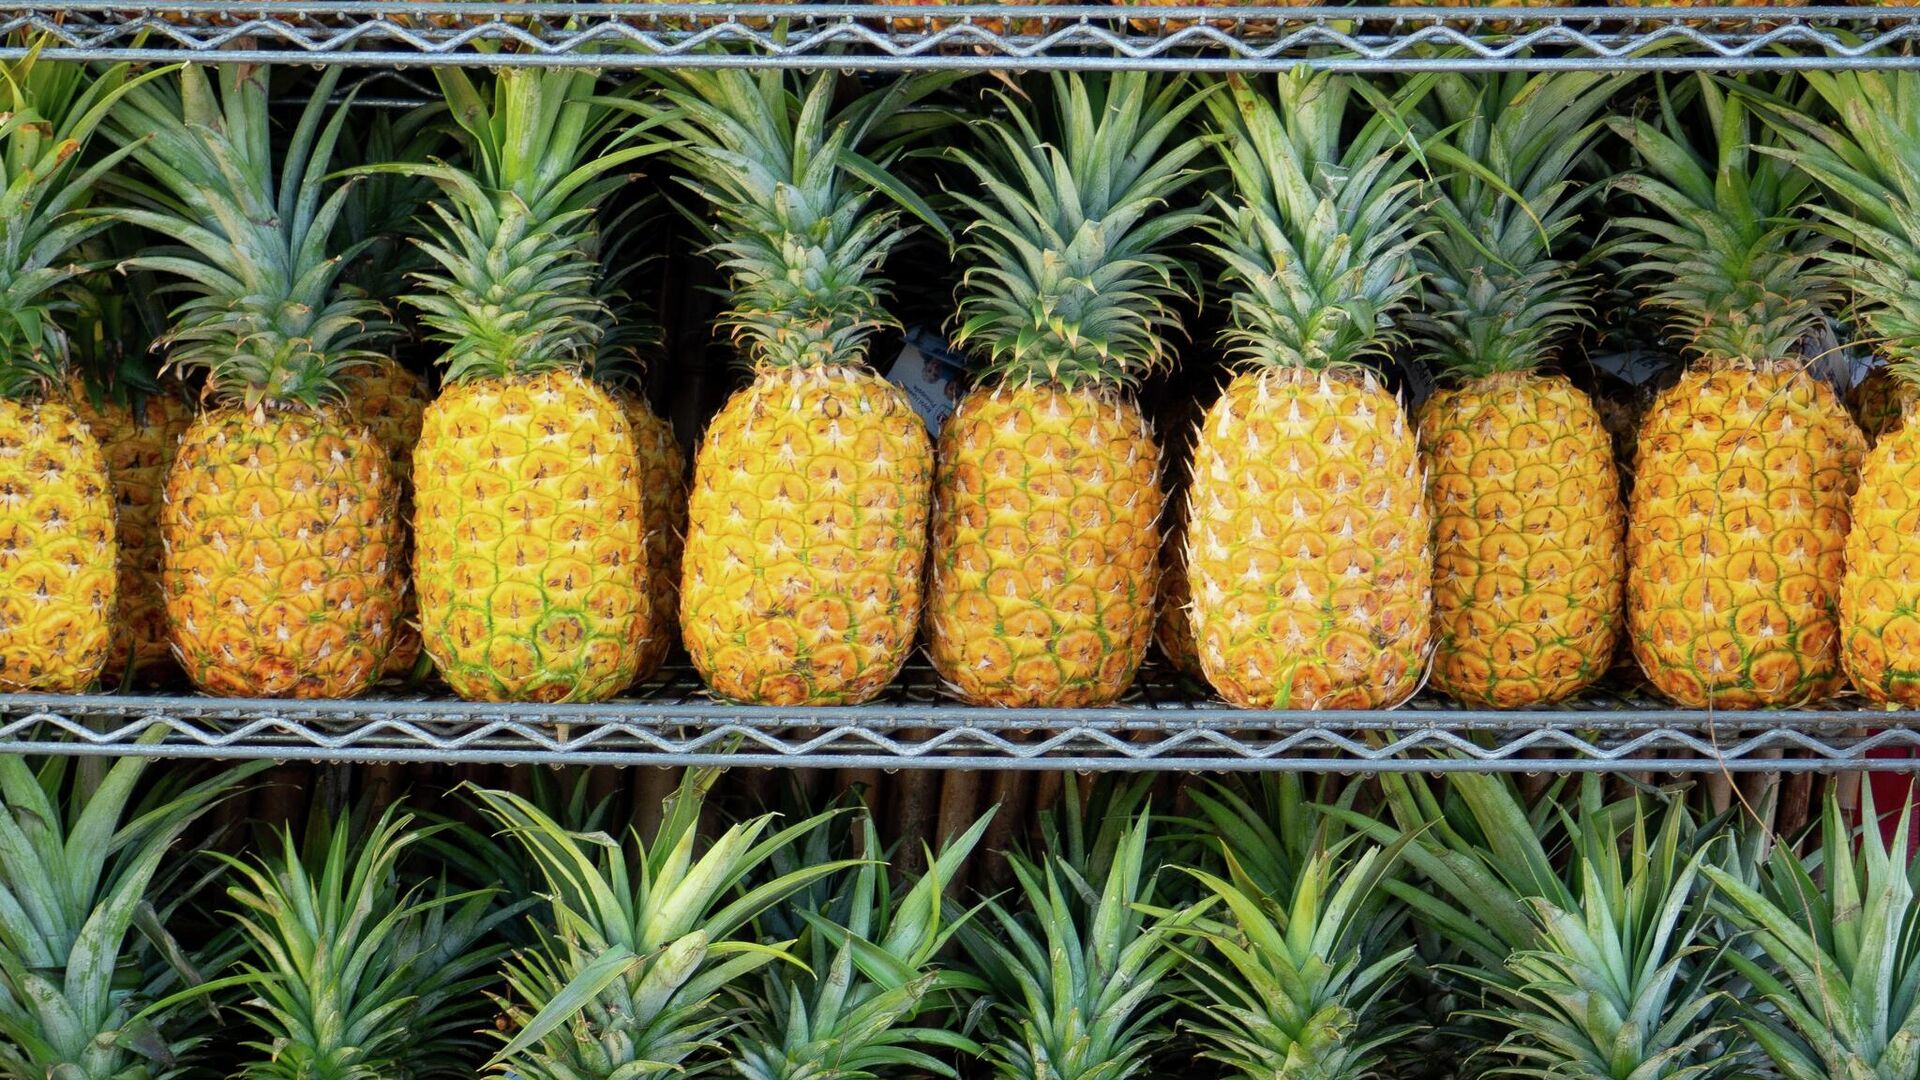
Pineapple Juice: The Sweet Tang
Fresh pineapple juice is always a great choice if you can get it, but a good quality canned or bottled pineapple juice works perfectly fine for this recipe. You want a juice that is 100% pineapple, without any added sugars or other fruit juices, if you can help it. The natural sweetness and tang of the pineapple are essential for that classic taste, you know?
Make sure your pineapple juice is chilled before you start mixing. This helps keep the overall drink colder and prevents the ice from melting too quickly when you blend everything. A cold juice just makes the whole process better, honestly. It helps everything come together nicely, almost instantly.
The pineapple juice provides a refreshing contrast to the richness of the coconut cream. It's the bright, fruity note that makes the drink so appealing. Without it, the colada wouldn't be nearly as balanced or as refreshing, so it's a pretty important part of the whole thing.
Ice and Garnishes
You'll need a good amount of ice for blending. This is what gives the pina colada its slushy, frozen texture. Make sure you have plenty on hand, as you'll be using quite a bit to get the right consistency. Using fresh ice is always a good idea, you know, for the best results.
For garnishes, pineapple wedges and maraschino cherries are the classic choices. They add a nice visual touch and a little extra fruit flavor. A small umbrella or a fresh mint sprig can also make your drinks look even more festive. These small details really make the drink feel special, you know?
Don't forget the presentation. A well-garnished drink is just more fun to sip. It adds to the whole experience, making it feel a bit more like a vacation treat. So, take a moment to add those finishing touches; they really do matter, apparently.
Your Tools for Mixing
Having the right equipment makes preparing your pitcher pina colada much easier. You don't need anything too fancy, but a few key items will help you get the best results. These tools help ensure your drink is smooth, well-mixed, and ready to enjoy, you know?
First, a powerful blender is pretty important. Since you're making a larger batch and using a lot of ice, a blender that can handle crushing ice without struggling is key. A standard kitchen blender will work, but a high-speed one will give you a smoother consistency faster. This is, in a way, the most important tool you'll use.
Next, you'll need a large pitcher, obviously, for serving and storing your finished drink. Choose one with a good handle and a pour spout for easy serving. Glass pitchers look very nice, but a sturdy plastic one works just as well. Make sure it's big enough to hold the whole batch, which is, you know, essential.
Measuring cups and spoons are also necessary to get your ingredient ratios right. Precision here helps ensure your pina colada tastes balanced every time. A good set of measuring tools will make the whole process much simpler and more consistent, you know.
Lastly, long-handled spoons or a stirring rod can be useful for mixing the drink in the pitcher, especially if it sits for a bit and separates. This helps keep everything well combined before serving. These little things, honestly, make a difference in the end result.
Crafting Your Pitcher Pina Colada: Step-by-Step
Making a pitcher of pina coladas is pretty straightforward once you know the steps. It’s all about getting the right order and blending well. Follow these instructions, and you’ll have a delicious batch ready in no time, you know?
Prep Your Ingredients
Before you even touch the blender, get all your ingredients ready. Measure out your rum, cream of coconut, and pineapple juice. Make sure your pineapple juice is chilled, as mentioned earlier. Having everything measured and close by makes the blending process much smoother and faster. It's, you know, a good habit to get into for any recipe.
If your cream of coconut is very thick or separated, give it a quick warm-up in some hot water and stir it well. This helps it blend more easily into a smooth drink. Don't forget to have your ice ready to go, too. Being prepared saves a lot of hassle, apparently.
The Blending Process
For a pitcher-sized batch, you might need to blend in two or three smaller portions, depending on the size of your blender. This helps ensure everything gets blended evenly and smoothly. Overfilling the blender can lead to uneven mixing and might even damage your appliance, which you definitely don't want, you know?
Add the liquid ingredients first: the rum, cream of coconut, and pineapple juice. Then, add a portion of the ice. Start blending on a low setting, then gradually increase the speed to high. Blend until the mixture is completely smooth and no ice chunks remain. It should have a slushy, uniform consistency. This takes a bit of time, sometimes, to get just right.
Once one batch is done, pour it into your large serving pitcher. Repeat the process with the remaining ingredients until all your pina colada mixture is in the pitcher. Give the whole pitcher a gentle stir to combine any slight differences between batches. This helps make sure every glass tastes the same, you know?
Chilling and Serving
After blending, it's a good idea to chill the entire pitcher in the refrigerator for at least 30 minutes. This allows the flavors to meld together even more and keeps the drink nice and cold. A colder drink tastes better, especially something like a pina colada, you know?
When you're ready to serve, give the pitcher a good stir again, as some separation might occur. Pour into individual glasses. Garnish each glass with a fresh pineapple wedge and a maraschino cherry. You can also add a fun straw or a small umbrella for that extra festive touch. It's, you know, all part of the experience.
Serve immediately, obviously, for the best taste and texture. The colder, the better for this kind of drink. So, don't let it sit out too long, if you can help it.
Tips for a Perfect Pitcher
Making a good pina colada pitcher recipe is more than just following steps. There are a few tricks that can make your batch truly stand out. These little details can really make a difference in the final taste and texture, you know?
Consistency is Key
The texture of your pina colada is very important. You want it to be smooth and slushy, not watery or too thick. If your mixture seems too thick after blending, you can add a small splash of pineapple juice or a tiny bit of water and blend again until it reaches the desired consistency. If it’s too thin, you might need to add a bit more ice and blend again. It's a bit of an art, really, getting it just right.
Remember that the ice will melt over time, especially if the pitcher sits out. If you're serving over a longer period, consider serving the initial pour slightly thicker so it can hold up as the ice melts. Or, you know, keep it in the fridge as much as possible.
Pre-Chilling Makes a Difference
This tip can't be stressed enough: make sure all your liquid ingredients are very cold before you blend them. Cold ingredients mean less ice is needed to chill the drink, which in turn means less dilution. This helps maintain the strong, vibrant flavors of the pina colada. It’s a simple step, but it really pays off, you know?
Even chilling your serving glasses in the freezer for a few minutes before pouring can help keep the drinks colder for longer. Every little bit helps to keep that refreshing chill going, which is, you know, what you want on a warm day.
Sweetness to Your Liking
The sweetness of a pina colada can be adjusted to your taste. Cream of coconut is already sweet, and pineapple juice adds more. If you prefer a sweeter drink, you can add a little simple syrup or a touch more cream of coconut. If you find it too sweet, a splash of lime juice can cut through the sweetness and add a nice tartness. It’s all about finding your perfect balance, apparently.
Taste as you go, especially after the first blend. You can always add more sweetness or tartness, but it's harder to take it away. So, start with the base recipe and then adjust to your preference. This is, in a way, the fun part of making drinks at home.
Variations on the Classic
While the classic pina colada is fantastic, there are many ways to change it up and make it your own. Experimenting with different additions can lead to some really interesting and delicious new drinks. These variations allow you to tailor the recipe to different tastes or occasions, you know?
Virgin Pina Colada
To make a non-alcoholic version, simply leave out the rum. The drink will still be incredibly flavorful and refreshing, making it suitable for all ages and for those who prefer not to drink alcohol. It’s a great option for family gatherings or daytime events. You can, you know, still enjoy the tropical flavors without the spirits.
You might want to add a little extra pineapple juice or a touch of simple syrup to balance the flavors when removing the rum, as the rum does add a certain depth. This helps keep the drink rich and satisfying. It’s, in some respects, just as good without the alcohol.
Fruit Additions
Adding other fruits can give your pina colada a fresh twist. Mango, strawberry, or banana are popular choices. Just add a handful of frozen fruit along with the other ingredients before blending. This can add a new layer of flavor and a beautiful color to your drink. It's a pretty simple way to change things up, honestly.
For a strawberry pina colada, add about a cup of frozen strawberries per pitcher. For mango, use a cup of frozen mango chunks. These fruits blend well and complement the existing flavors nicely. They also add a bit more thickness, which is, you know, a nice bonus.
Spiced Rum Twist
If you prefer a drink with a bit more character, try using spiced rum instead of or in addition to light rum. Spiced rum adds warm notes of vanilla, cinnamon, and nutmeg, which can give your pina colada a richer, more complex flavor profile. It’s a good choice for a cooler evening or if you just like bolder tastes, you know?
Start with a small amount of spiced rum and taste as you go, as its flavor can be quite strong. You can always add more if you want a more pronounced spice presence. This variation is, you know, a nice change from the usual.
Lighter Options
For a less caloric version, you can try using light coconut milk instead of cream of coconut
/Piasencaja-5b368acfc9e77c001a59d5ea.jpg)

Detail Author:
- Name : Ms. Coralie Fisher IV
- Username : fbailey
- Email : modesta.hudson@larson.net
- Birthdate : 1970-09-26
- Address : 452 Jaskolski Inlet Port Derrick, MI 46927-8889
- Phone : +14846120951
- Company : Schamberger, Schiller and Bayer
- Job : Protective Service Worker
- Bio : Sed explicabo quia magnam hic. Similique sint quos itaque et et cumque omnis. Eos est qui officia quia et quaerat consequatur.
Socials
instagram:
- url : https://instagram.com/cecelia_lueilwitz
- username : cecelia_lueilwitz
- bio : Natus distinctio ratione odio nesciunt sapiente. Iure odit perferendis dolores et.
- followers : 1404
- following : 1288
tiktok:
- url : https://tiktok.com/@clueilwitz
- username : clueilwitz
- bio : Eius eum aut eos aut aut praesentium. Dolores iusto labore est in.
- followers : 985
- following : 1688


 Bonus
Bonus