

Have you ever considered how the smallest details can completely change the feel of a room? In your bathroom, that little something could easily be the trim around your tub. It’s not just about what you see; it’s also about how things fit together and stay protected, you know? Bathtub molding, as it happens, plays a pretty big part in all of that, so.
This molding, or trim, gives a nice, finished look where your tub meets the wall or floor. It helps create a clean line, making the whole space seem more put-together. It’s a detail that, frankly, many people might overlook, but it truly makes a difference in the overall presentation of your bathroom, as a matter of fact.
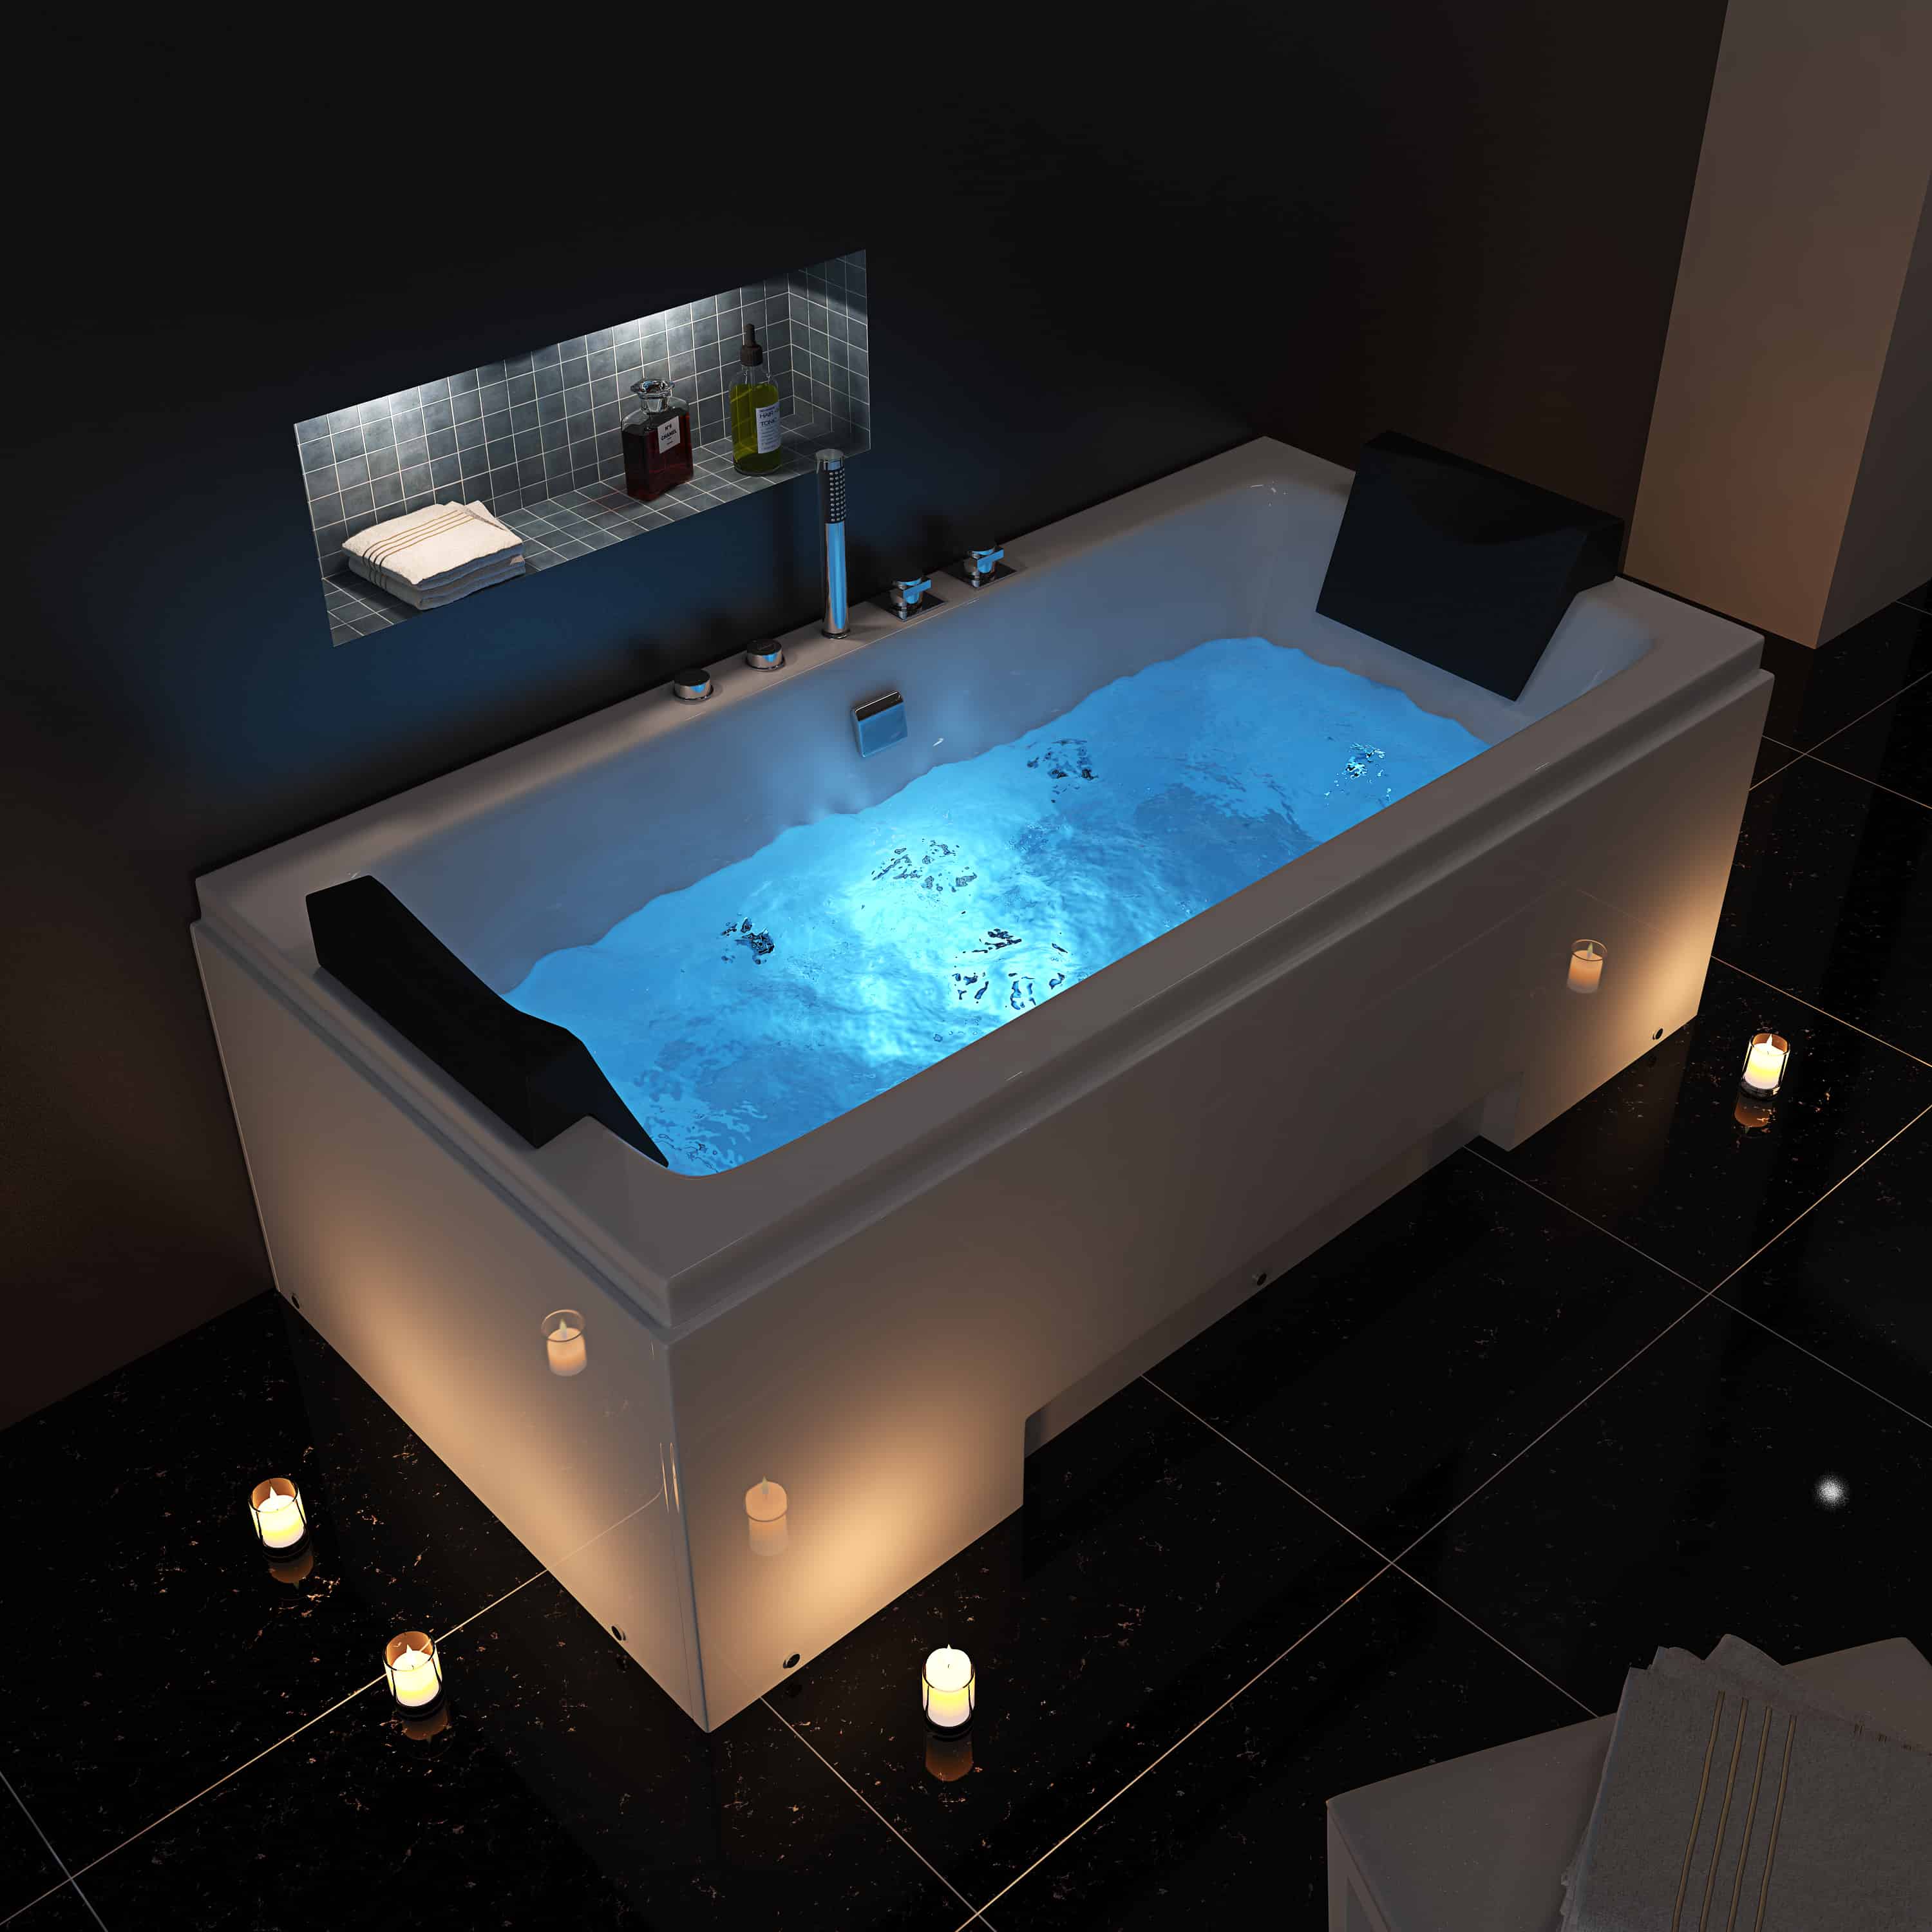
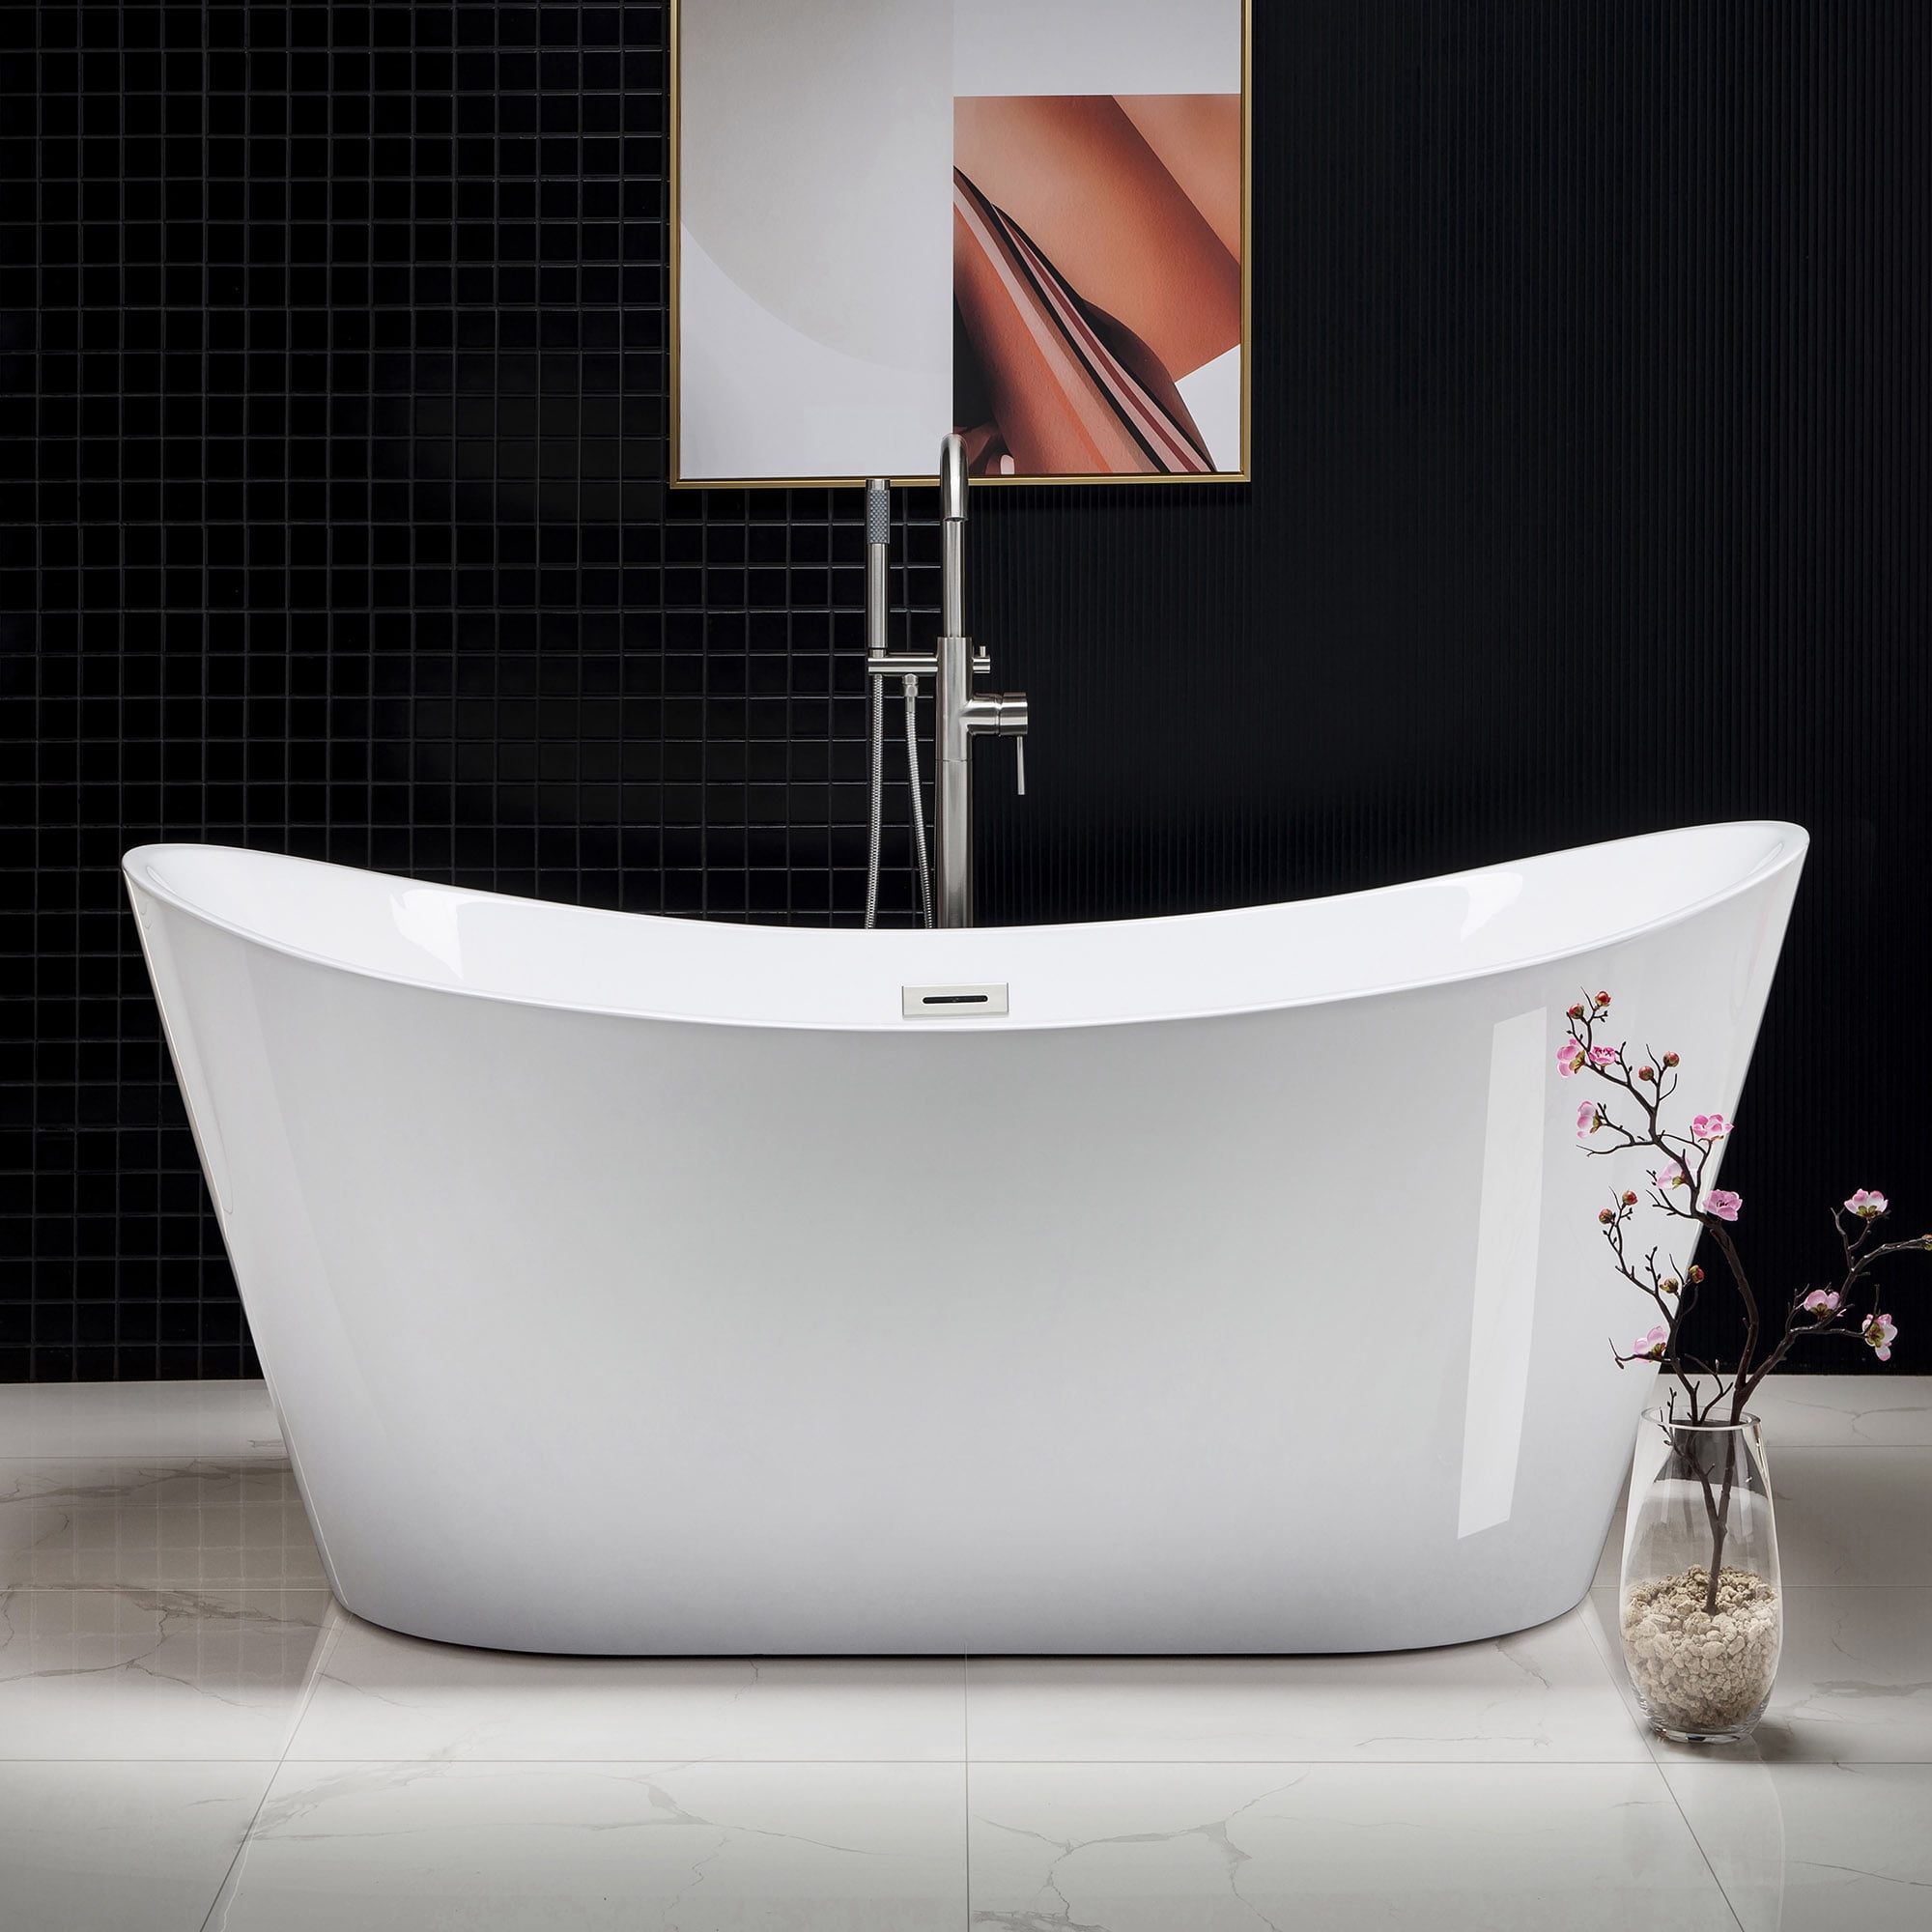
Beyond just looking good, this trim does some serious work, too. It acts as a barrier, helping keep water from getting into places it shouldn't. Think about it: a well-done trim can really help keep things dry and tidy, which is pretty important for any bathroom, right? Just like a new bathtub can revitalize the overall look of your bathroom, picking the right molding can truly round out that refreshed feeling, honestly.
Table of Contents
- What is Bathtub Molding?
- Types of Bathtub Molding
- Installation Basics: A Quick Guide
- Maintenance and Care
- Common Bathtub Molding Problems and Fixes
- Frequently Asked Questions About Bathtub Molding
What is Bathtub Molding?
Bathtub molding, often called tub trim or bath trim, is essentially the decorative and protective strip that goes around the edges of your bathtub. It sits where the tub meets the wall, or sometimes the floor, creating a neat separation. This little strip, arguably, ties the whole look together, giving it a polished feel, you know?
It’s a bit like the frame around a picture. Without it, the picture might look a little unfinished, right? The molding helps define the space and brings a sense of order to the bathroom. It’s a pretty small detail that has a really big visual impact, honestly.
More Than Just a Pretty Edge
While the look is certainly a big part of it, bathtub molding does much more than just add visual appeal. It serves a very important functional purpose, too. Think of it as a barrier, a sort of shield for your walls and floors. This protective role is, quite frankly, vital in a space like a bathroom where water is constantly present, as a matter of fact.
It helps to seal the gap between the tub and the surrounding surfaces. This sealing action is what keeps water from splashing or seeping into the wall cavities or under the flooring. Without it, you could easily end up with some pretty serious moisture problems, you know? So, it’s not just about looking good; it’s about preventing bigger headaches down the line.
Why It's So Important
The importance of proper bathtub molding really can't be overstated. Water damage, as you might know, can be a real pain to deal with. It can lead to mold growth, which is bad for your health and can cause unpleasant smells, so. It can also weaken your walls and floors, making them soft and unstable over time, which is something you definitely want to avoid, right?
A well-installed piece of molding, coupled with good caulk, helps prevent all these issues. It keeps the moisture where it belongs – inside the tub or draining away. This protection means your bathroom stays healthier and lasts longer, which is pretty good news for any homeowner, in a way. It’s a small investment that offers a lot of peace of mind, basically.
Types of Bathtub Molding
When you start looking into bathtub molding, you'll find there are quite a few options out there. The material you pick will affect how it looks, how it lasts, and even how much effort it takes to keep clean. Each type has its own feel and its own set of benefits, so it’s worth taking a moment to consider what might work best for your space, you know?
Some materials are really common, while others offer a more unique touch. It really depends on the overall style you’re going for in your bathroom. You want something that complements your existing fixtures and surfaces, or perhaps something that helps you add style and relaxation to your bathroom with a new bathtub, as we discussed earlier.
Different Materials, Different Looks
Let's talk about some of the most popular materials you might come across when choosing your bathtub molding. Each one has its own characteristics, which is pretty interesting, so.
PVC/Vinyl: This is a very common choice, and for good reason. It's quite affordable and really easy to work with. You can cut it with simple tools, and it comes in a lot of different colors and styles. It's also completely waterproof, which is a huge plus for a bathroom. It tends to be pretty low-maintenance, too, which is nice. However, it might not always have the high-end look of some other materials, you know? It can sometimes look a bit more utilitarian, arguably.
Ceramic Tile: If your bathroom already has tile, using ceramic tile as molding can create a really seamless look. It's durable, waterproof, and comes in countless colors, patterns, and sizes. This means you can match it perfectly to your existing tile or create a lovely contrast. It does require grout, though, which can sometimes be a spot for mildew if not cleaned regularly, as a matter of fact. Installation can be a little more involved than with PVC, requiring some specialized tools and a bit more skill, so.
Wood: For a more traditional or rustic feel, wood molding can be beautiful. It adds warmth and a touch of elegance to the bathroom. However, wood needs to be treated properly to resist moisture, and even then, it might not be the best choice for areas with direct water exposure. It typically requires regular sealing or painting to protect it from humidity and splashes. It's a bit more of a commitment in terms of upkeep, but the look can be really stunning, in some respects.
Stone (Natural or Engineered): Materials like marble, granite, or engineered quartz can make for a truly luxurious and sophisticated bathtub molding. They are incredibly durable and water-resistant when sealed correctly. The natural variations in stone also mean that each piece is unique, giving your bathroom a very custom feel. These options are usually at the higher end of the price spectrum and might require professional installation due to their weight and the need for precise cutting, you know? But the end result is often absolutely beautiful, frankly.
Choosing the Right Style
When picking a style, think about the overall vibe of your bathroom. Is it modern and minimalist? Then maybe a sleek, simple PVC or a large format tile would fit. Is it more traditional? Perhaps a decorative ceramic trim or even a carefully treated wood could work. You want the molding to complement, not compete with, the rest of your bathroom's design, you know?
Also, consider the amount of water exposure the area gets. If it's a shower-tub combo that gets used daily, a highly water-resistant material like PVC or tile is probably your best bet. If it's a soaking tub that sees less splashing, you might have a bit more flexibility with materials like treated wood, as a matter of fact. It's about balancing looks with practicality, so.
Installation Basics: A Quick Guide
Putting up bathtub molding can seem a little tricky at first, but it's actually a pretty manageable DIY project for many people. Having the right tools and taking your time are key to getting a good result, you know? It’s all about preparation and then following the steps carefully, basically.
Before you even think about cutting anything, make sure your surfaces are clean and dry. Any old caulk or adhesive needs to be completely removed. This step is super important for getting a good, lasting bond. A clean surface means your new molding will stick properly, which is what you want, right?
Getting Ready: Tools and Prep
Here’s a quick list of what you'll probably need to get started:
Your chosen bathtub molding, of course.
A measuring tape and a pencil for marking.
A miter saw or a utility knife, depending on your molding material. For tile, you’ll need a tile cutter.
Strong adhesive or caulk gun with appropriate caulk (silicone is often a good choice for bathrooms).
A caulk tool or your finger (with a glove!) for smoothing.
Cleaning supplies: rags, rubbing alcohol, and maybe a scraper for old caulk. You might also want some painter's tape to keep things neat, so.
Make sure your bathroom is well-ventilated, especially when working with adhesives or caulk. Open a window or use a fan. Safety first, as they say, you know?
Step-by-Step: From Cutting to Sealing
Here’s a general idea of how you might go about it:
Measure and Cut: Carefully measure the length of each section where the molding will go. Remember the old saying: "measure twice, cut once." Cut your molding pieces to fit, paying attention to any corner angles. You’ll usually want 45-degree miter cuts for neat corners, which is pretty standard for trim work, you know?
Test Fit: Before applying any adhesive, place each piece of molding in its spot to make sure it fits perfectly. Make any small adjustments now. This step can save you a lot of frustration later, as a matter of fact.
Apply Adhesive: Put a consistent bead of adhesive or caulk along the back of the molding strip. Don't go too heavy, but make sure there's enough for a good bond. Some types of molding might have a peel-and-stick backing, which makes this part much simpler, so.
Press into Place: Carefully press the molding firmly into its position. Hold it there for a moment to allow the adhesive to grab. You might use painter's tape to hold longer pieces in place while the adhesive sets, which is a pretty good trick, honestly.
Caulk the Edges: Once the molding is secure, apply a thin bead of silicone caulk along the top and bottom edges where the molding meets the wall and the tub. This is the crucial step for waterproofing. Smooth the caulk with a caulk tool or a wet finger for a clean, professional look, you know?
Clean Up: Wipe away any excess caulk immediately with a damp cloth. Let everything dry completely according to the product instructions before using the tub. This drying time is really important for a lasting seal, in a way.
Tips for a Perfect Finish
Getting a truly neat finish with your bathtub molding comes down to a few small things. First, take your time with the caulk. A smooth, even bead makes a huge difference in the final appearance, so. Don't rush this part, you know?
Also, consider using a high-quality, mold-resistant silicone caulk. This will help prevent those unsightly black spots that can sometimes appear in damp bathroom environments. It’s a little extra cost that can save you cleaning headaches later, frankly. And remember, a good clean surface before you start is half the battle, as a matter of fact.
Maintenance and Care
Once your bathtub molding is installed, keeping it looking good and doing its job isn't too hard. Regular, gentle cleaning is usually all it takes. This helps prevent buildup of soap scum and mildew, which can make even the prettiest molding look a bit worn, you know?
The key is to be consistent. A little bit of care often means you won't have to do a big, tough cleaning job later. This approach, arguably, saves you time and effort in the long run, so.
Keeping It Clean
For daily or weekly cleaning, a mild bathroom cleaner and a soft cloth or sponge are usually enough. Just wipe down the molding along with the rest of your tub and tiles. Try to avoid harsh abrasive cleaners or scrub brushes, especially on softer materials like PVC, as they can scratch or damage the surface, as a matter of fact.
If you notice any mildew starting to form, a solution of water and white vinegar, or a specific mildew remover, can usually take care of it. Apply it, let it sit for a few minutes, then scrub gently and rinse thoroughly. Good ventilation in your bathroom also helps a lot in preventing mildew from growing in the first place, you know?
When to Replace It
Even with the best care, bathtub molding won't last forever. Over time, caulk can crack, peel, or become discolored. The molding itself might get damaged or just start to look old and tired. If you see persistent mildew that won't clean up, or if the caulk is pulling away from the wall or tub, it's probably time for a replacement, so.
Replacing old, failing molding is really important because it directly affects the water seal. A broken seal means water can get behind your walls, leading to those bigger problems we talked about earlier. It’s a pretty simple fix that can prevent much more expensive repairs, you know? Think of it as part of your home's regular upkeep, as a matter of fact. You can learn more about bathroom upgrades on our site, and also check out our guide to tub replacement options.
Common Bathtub Molding Problems and Fixes
Even with careful installation and regular cleaning, you might run into a few common issues with your bathtub molding. Knowing what to look for and how to fix it can save you some frustration and keep your bathroom in good shape, you know? These problems are pretty typical, so don't worry too much if you spot one.
The good news is that most of these issues are quite fixable, often without needing to replace the entire molding. It's often about addressing the specific problem area, which is pretty convenient, frankly.
Cracks and Gaps
Over time, especially with changes in temperature and humidity, the caulk around your molding can crack or pull away, creating small gaps. This is a very common issue, as a matter of fact. These gaps are problematic because they allow water to seep behind the molding and into your walls, which is what you're trying to prevent, right?
The fix usually involves removing the old, cracked caulk completely. You can use a caulk removal tool or a utility knife for this. Once the old caulk is gone and the surface is clean and dry, apply a fresh bead of mold-resistant silicone caulk. Smooth it out for a neat, watertight seal. This is a relatively quick job that makes a big difference, you know?
Mildew and Discoloration
Bathrooms are damp places, so mildew can sometimes be a persistent problem, especially in the caulk lines or on porous molding materials. It shows up as black or pinkish spots and can be pretty unsightly. Discoloration, like yellowing, can also happen over time, especially with older caulk or certain types of plastic molding, so.
For mildew, try a strong mildew cleaner or a bleach solution (diluted, of course) applied with a brush. Let it sit for a bit, then scrub and rinse thoroughly. If the mildew has really set in, or if the caulk is discolored beyond cleaning, replacing the caulk is probably the best option. For discoloration of the molding itself, if it’s a plastic type, sometimes a good scrub with a non-abrasive cleaner can help, but sometimes replacement is the only way to get it looking fresh again, you know? Keeping your bathroom well-ventilated is key to preventing these issues in the first place, as a matter of fact. For more general home improvement advice, you might find useful information on sites like Hunker, which often covers similar topics.
Frequently Asked Questions About Bathtub Molding
People often have a few questions when thinking about bathtub molding. Here are some common ones, you know?
What do you put around the base of a tub?
Around the base of a tub, where it meets the floor or wall, you typically put a type of trim or molding. This is often a specialized waterproof molding made of PVC or tile. It helps to cover any gaps and, very importantly, provides a seal against water, so. This keeps water from getting underneath or behind the tub, which is pretty essential for keeping your bathroom dry and healthy, frankly.
What is the trim around a tub called?
The trim around a tub is usually called bathtub molding, tub trim, or bath trim. Sometimes people just refer to it as the "caulk line" if they're only talking about the sealant itself. But generally, when you hear "trim" or "molding" in this context, it's referring to that finished edge piece that goes around the tub, you know? It's all about making things look neat and keeping water out, as a matter of fact.
Can you put trim around a tub?
Absolutely, you can put trim around a tub! In fact, it's highly recommended and pretty standard practice for most bathtub installations. It serves both a decorative purpose, giving a clean, finished look, and a very practical one, sealing the gap between the tub and the wall or floor. Without it, you'd have an unfinished edge and a much higher risk of water damage, so. It’s a key part of a complete bathroom setup, honestly.
Detail Author:
- Name : Reba Collins
- Username : nash09
- Email : graciela.gaylord@yahoo.com
- Birthdate : 1994-10-09
- Address : 4611 Dorothea Glen Leannonland, CT 99692-9871
- Phone : 559.264.9822
- Company : Prohaska-Wuckert
- Job : Mold Maker
- Bio : Aliquam neque error impedit. Animi a suscipit incidunt perspiciatis maxime vel quas dolores. Aut dolor ut iure ut illo. Ipsum rerum veniam et.
Socials
linkedin:
- url : https://linkedin.com/in/carissarunolfsdottir
- username : carissarunolfsdottir
- bio : Quod in quae voluptatem minima consequatur.
- followers : 2549
- following : 779
tiktok:
- url : https://tiktok.com/@carissarunolfsdottir
- username : carissarunolfsdottir
- bio : Dolores asperiores est sunt quibusdam.
- followers : 6977
- following : 828
facebook:
- url : https://facebook.com/carissa5778
- username : carissa5778
- bio : Pariatur quis distinctio veritatis commodi. Reiciendis architecto est iste.
- followers : 1864
- following : 595
instagram:
- url : https://instagram.com/runolfsdottirc
- username : runolfsdottirc
- bio : Architecto dolor hic odit. Eum quia sit at dicta.
- followers : 5485
- following : 332
twitter:
- url : https://twitter.com/carissarunolfsdottir
- username : carissarunolfsdottir
- bio : Corrupti velit qui et. Omnis sunt eligendi sit. Enim totam et ab magni tenetur non.
- followers : 6655
- following : 1619


 Bonus
Bonus